|
Yes
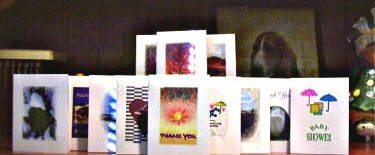
you can make nice looking ¼ fold cards right from your own
printer.

The
downside is those packages of paper with the matching funny
sized
envelopes, and the purchase of inkjet cartridges,
and the purchase of
desktop publishing software,
consumes the savings realized by not
actually purchasing
greeting cards in the store.
As you've
undoubtedly seen throughout other pages in this site, we've
covered
the image and card issues pretty well, and will
continue to update our material.
Now let's tackle the
envelope issue, and save some money.
|
|
Step 1
This
outline show proper card placement
to begin making an
envelope. The card will
be directly in the center, side
way when the
paper is viewed in its' normal position.
|
 |
|
Here is another
view, the card is in the normal
position, The sheet of
paper is now sideways.
You don't have to draw an
outline.
|
 |
|
Step 2
The
first two folds will be on the long sides
(11") of
the paper, fold them so the card has
just a little bit
of room on each side.
|

|
|
Step 3
Using
medium pressure, use a clean, hard
object, to go over
and crease the folds, on
a hard clean surface. The side
of this marker
and the wooden table top in the photo
work
very well for this purpose.
|
 |
|
Step 4
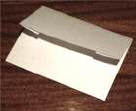
The
next fold will make the bottom of the
envelope or the
"pouch"
|

|
|
Step 5
This
fold will make the top of the
envelope or the "flap"
|

|
|
Step 6
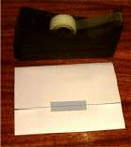
Ordinary
transparent tape will
seal up the envelope just fine.
|

|
|
Step 7
Address
your envelope, add a stamp,
and you're done.
|

|


