Step
1
Begin
by using a heavy sheet of bright white
inkjet paper for
best results, printer set on best
high quality setting.
Normal may work if you
really want to conserve ink. Your
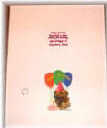
printed card
should resemble the one to the right.
Step
2
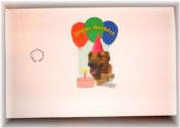
Fold the page over top to
bottom, printed
surface outward. Use care to align
the
corners, as this step has great effect on
the
final card. Going
over the folded edge
with a smooth, hard, clean object
will
give the fold a professional look.
Step 3
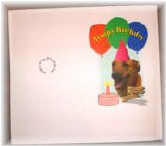
Fold
the right side of the card the desired
amount. It
will be less than
one third. Use a plain
envelope
as your guide. (as explained in step 6)
Step
4
Now
fold the left side of the card. Keep in
mind, the
main image will be front and
center
when completed. The left fold should
be the
same distance from the main
picture as the
right fold was.
Step
5
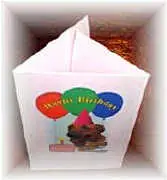
Your
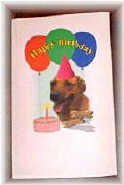
completed card should look
like the one shown on the
right.
Step
6
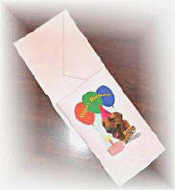
We
recommend using the same plain
envelope the card
will be mailed in as a
guide for easy folding. We
originally put
alignment marks on these cards.
They
we're ugly so we removed them.
Step
7
Personalize
it, sign it and mail it. Yes, currency
and
checks fit great in these cards.
We don't
recommend mailing currency.
